TAST tool Menu
TAST Adaptors
Adaptors examples
TAST Integrations
Interesting features
Documentation of technical administration
Modeling recommendations
Training in the TAST tool
TAST tool Menu
TAST Adaptors
Adaptors examples
TAST Integrations
Interesting features
Documentation of technical administration
Modeling recommendations
Training in the TAST tool
TAST (Test Automation System Tool) is a tool for automating the testing. It is based on UML diagrams.
It has a user-based system, where every user has a role and, depending on this role, can perform different actions.
For being able to use TAST, it is needed to make a short configuration in the pc to let the program work as expected, be able to use the client, and avoid the security messages to come out every time that the tool is open. First of all, a set up for the client-permissions is needed.
The configuration is performed following these steps:


To be able to automate HTML GUI pages, there are two ways to do it:
TAST has created a proprietary tool, Selective Mapping, thanks to which, we can obtain the search values in a more efficient way. When using selective mapping, the best search options are suggested from top to bottom. We can search by name, type, xtpath, Css, Css attributes. The options available for the Selective Mapping functionality are:
Here is how to install this tool.


First of all, we are going to create a very simple GUI diagram that will consist of a Google search of the official website of the newspaper EL PAÍS. Here is a link to the video with the explanation of this test case. https://vimeo.com/920514078/6d0a2f564f?share=copy
Next we are going to detail step by step how to create a similar diagram, which is going to consist of a Google search, of TAST SIPSA: Google will open → We will accept the Cookies message from our computer → We will include our Google search criteria → We will click on the button → We will click on the 1st option that appears.
Access UML Model/UML Diagram from the menu:

Select your domain and project

Creat a new diagram.
Fill in the fields to create the diagram with the name, description and location where we want to create it.

We start by drawing the diagram using the drawing tools found in the menu on the right of the screen. Press the + sign adn a drop down list will appear.
Select the second option: Object

The first Adapter we need is the User Adapter. This Adapter does not need Properties, but it is necessary, since all messages start from it.

Next select another Adapter, and in this case we need the GUI Adapter, which is the one that allows us to interact with all kinds of web pages, to navigate, extract data, validate, etc…
Accept the change of Adapter.

And we can now launch messages

This Adapter needs the folowing in the Properties tab, indicate the URL and the name of the Search engine, in this case Chrome.
The URL and the search engine are necessay. Other parameters are optional.

When then go to the Selective Mapping tab, click twice and open it. To the right of the image, a light gray drop-down will appear with some data, which will vary as we modify our search by pressing the [v] key and the help of a red marker
Thanks to this tool, we can obtain the search values, which must be included, by copying and pasting them in the next Object Mapping tab. We can search by: name, type, xtpath, Css attributes, according to what was marked in the SearchBy dropdown. We then paste it in the Element tab.


If we want to document a step, open the message documentation screen and give an explanation of this step. This will appear documented when downloading he evidence document.

When the finish giving all the properties to the messages, map the messages and if we want to we document them.
Once we have finished the whole process, we save the diagram and validate it.

If we cannot edit it or we want to open the diagram again, to make any changes, we have to go to the lock tab and unlock it.

This diagram is assigned a number by default.
We open Client, downloading the Exe version.

And this screen will appear, where we click on More information, never on Not Execute.

It will then take a few seconds for the Client to install.

Click on Accept

And it will appear:

We look for the test case, execute it, if there are no errors it will be marked in green.
The Test case is launched automatically and we can see how: Google is opened → Accept our PC's Cookies message → include our Google search criteria → click on the button → then click on the 1st option that appears.
Next to the green tab is a folder that contains all the It is found in our C directory:


Open it and we have all the steps performed, the predefined functions that we have needed for the messages and the result.

If we want to have this test case documented, we go to Results and click on the download tab.


It creates a Word document with the number of steps performed, the Result, the link to access the diagram and if we have documented the messages, it will also detail them.

To get the mapping of a message from the GUI adapter we can do it with the F12 key. In this case we are going to search for a type in Google, which is the field where we write the search we want to do in Google.
We open the page we want to diagram (URL of the GUI adapter). Press the F12 key on the keyboard and the console appears

We click on the arrow in the image that shows us the elements of the page that we want to select to inspect.

It is positioned on the element of which we want to obtain the mapping and it is clicked on it. The F12 screen will show the information of the element.


On the element, we double click on the field that we want to obtain so that it is selected. In our case, we are going to do the search by “name”. We copy the element (Ctrl + C).

We go back to mapping the message in our diagram. Where we select the search field (name) and the information copied from F12 in the element field.

If we want to search by Xpath or Css Selector, in the selected element in the console (F12), we right-click / copy / copy selector-copy Xpath. And it is pasted in the element field of the message mapping.

The first screen seen when accessing to the tool is the one here below, where the user needs to log in, in order to get into its personal TAST view. This login can be done with the same credentials than for accessing Windows (i.e. LDAP number N000000 or XI000000 and password).

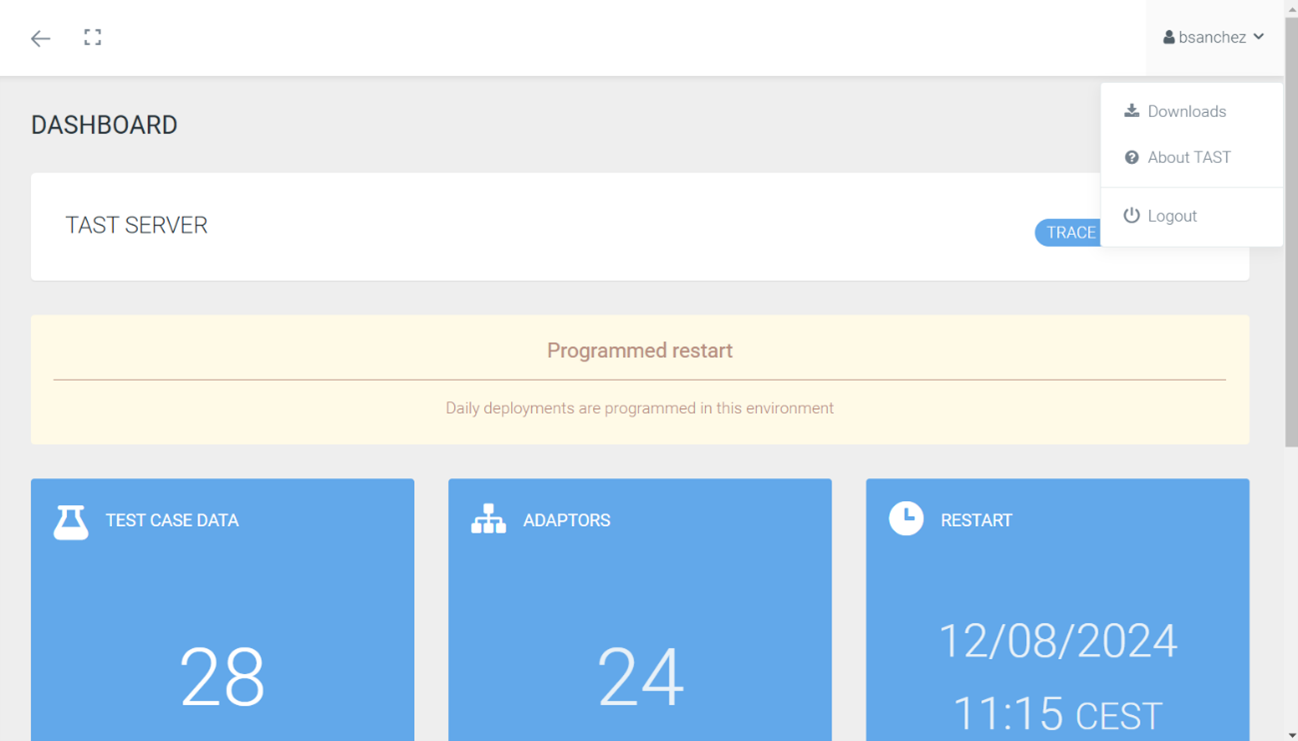
After clicking the “Sign in” button, the first webpage seen is the DASHBOARD of the tool, where the user can see the main useful information about the tool and its last use.

For switching between the different functionalities of the application, the user can use the menu at the left side of the screen. This menu can be presented in two ways (collapsed or expanded). In this menu, can be selected the following options:
The button 'Modeling' will drive the user to the page that allows to create UML diagrams.
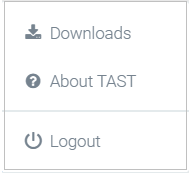
To logout, the user needs to click on its user (upper right) and then will see the Logout button.
The TAST web application allows to activate the double authentication (double layer of security) to enter the application.
As a requirement the user on a device (mobile phone, tablet, …) must have installed an authentication application such as, Google Authenticator application, or Twilio Authy Authenticator or other similar application.
The steps to follow are the following:


The function of the TAST HTML client is to execute the test cases and test sets.
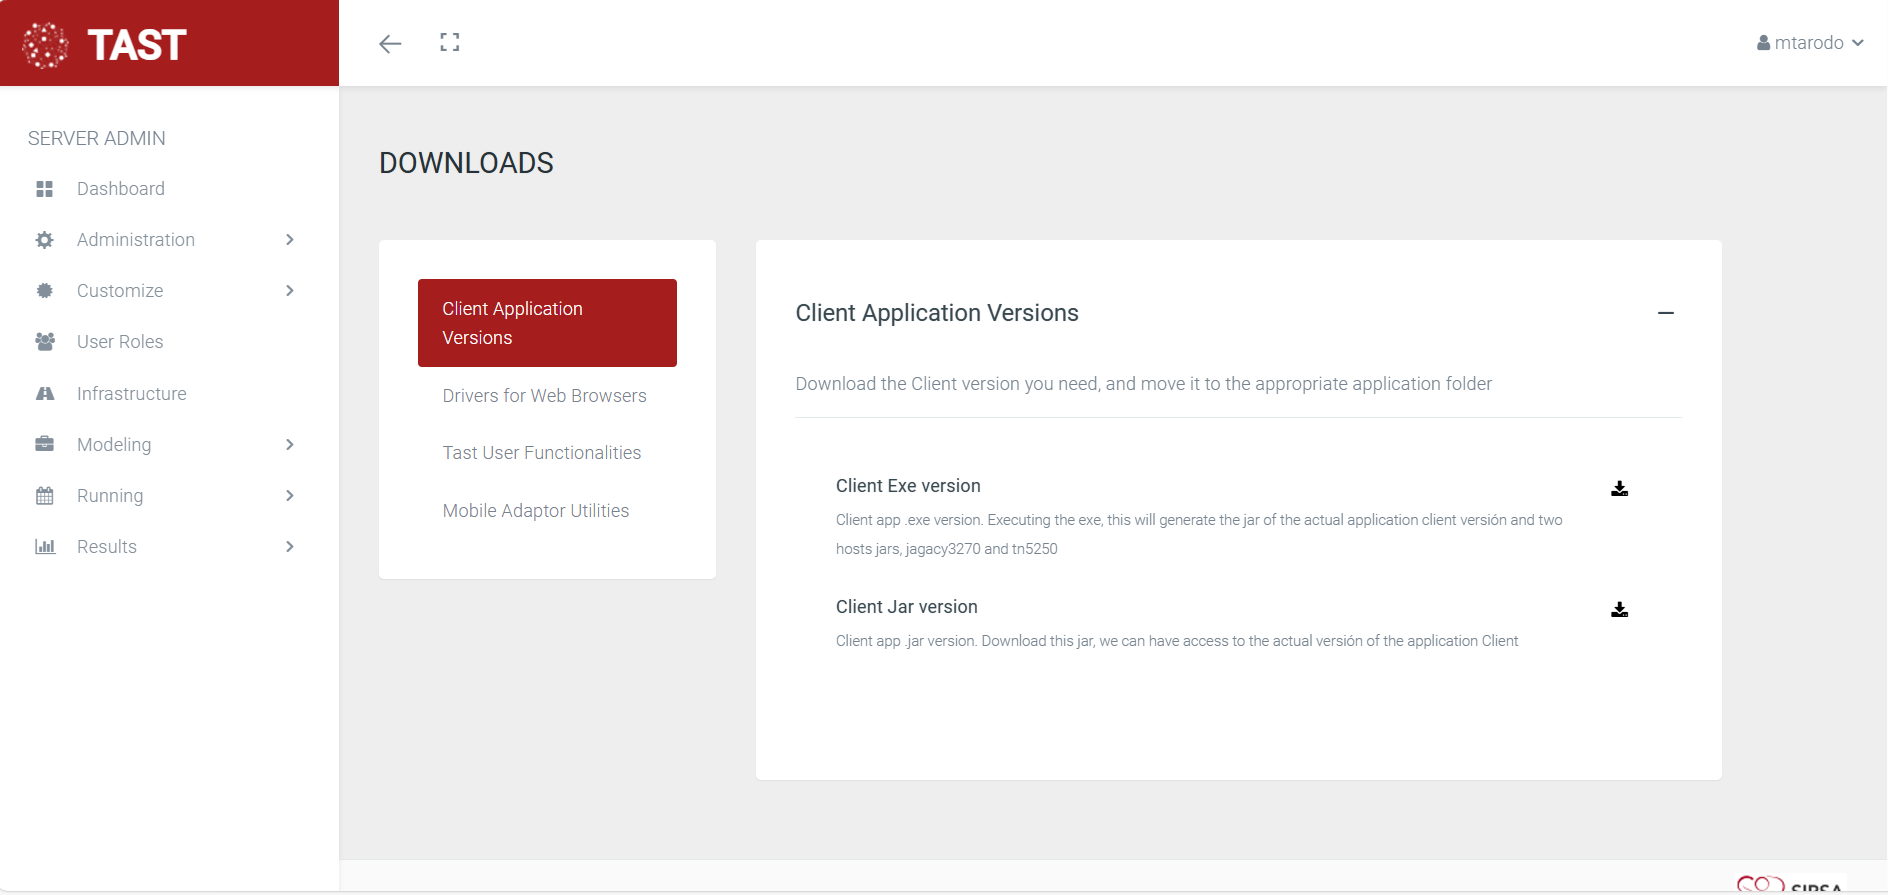
To be able to use this tool, the first step is to download it from TAST, through the User option that appears in the upper right part of the application.
We have the TAST Client in its two versions. We can download the version we need and move it to the appropriate folder for the application:
The first screen seen when accessing to the HTML Client is the one here below, where the user needs to log in, in order to get into its personal TAST HTML Client. This login can be done with the same credentials than for accessing TAST (i.e. LDAP number N000000 or XI000000 and password).

After clicking the “Login” button, some of the following messages will appear, depending on whether the HTML client version is the last or not:
1- HTML client version is the last:


2- HTML client version is not the last:

The HTML client window is updated with all the executions that are in that moment, adding:
Allows to eliminate the selected test cases and test sets.

When clicking on this option, the planned executions that are ready to be executed will appear in the window (according to Planning functionality).
In this table appears the following information:
 appears.
 appears), it can be stopped by clicking on that icon.
 in Status). It can be restarted by clicking on the icon.
 the test case / test set has not yet been executed.
 the test case / test set has been executed and finished ok.
 the test case / test set has been executed and finished ko. the test case / test set has been pause.
 when the evidences can not be uploaded and recorded correctly in the NAS where the results are stored.

You can filter elements in the Client table using these 3 fields:
These filters can be used individually or together.
 Clicking on the Filter table button applies the filters entered in the fields to the table
 Clicking on the Clear filters button clears the filter fields and resets the table to its original state
Filters will be applied to test cases, i.e. test case data belonging to a test set, and to validation test case data.
In the filter Test set name you can use:
Note: The test case data prefix “tcd_” or test case validation prefix “tcv_” are ignored in comparison.
Some examples in this field:
In the filter Last Exec. date you can use:
Some examples in this field:
In the filter Status you can use:
Some examples in this field:
IMPORTANT:
if one or more filters were applied to the table, when you try to run the test set, only the testcases that were filtered will be run.
For example, if you filtered the table with the field Status = “KO OR notexec”, when you click on the Run Test Set button, only the testcases with status KO and Not executed will be executed. That is, it only executes the testcases that appear in the filtered table.
Finally, we have a third help button:

By clicking on this button, a screen appears with all the necessary help to filter the elements using these three fields.

